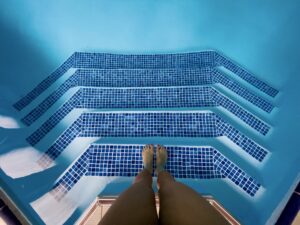
Swimming pool steps are one of the most important things to have working properly for your pool (especially if you have pets or kids that use it!). Over time, some steps will develop cracks or show signs of wear. Such damage not only detracts from the look of the pool, but can also pose safety hazards. That’s why when you’re dealing with a crack in pool steps, fixing it promptly is important (the bigger the crack, the faster you need to fix it!).
Repairing pool steps generally involves a series of steps including drying the area, removing debris, and sanding down the surface to create a smooth base for repair materials to adhere. This preparation stage is key in ensuring a successful repair. Once prepared, specialized materials designed for pool repairs are utilized to fill and seal the cracks, safeguarding the steps against water infiltration and further damage.
Assessing the Condition of Pool Steps
Identifying Damage
Take a look at your pool steps. There’s a couple things to look for that could be problems:
- Cracks: Visible lines or splits on the surface.
- Chips: Small pieces missing from the step edges or surface.
- Blistering: Raised areas indicating separation of layers.
- Discoloration: Changes in color that may suggest material degradation.
Determining Repair Needs
Once you’ve found the damaged spot, there’s a couple of things to take note of in order to know if it’s a serious repair job or not. Look for:
- Size and Depth of Damage: Larger, deeper damage often requires more complex repairs.
- Structural versus Cosmetic: Superficial, cosmetic issues differ in treatment from structural ones that affect the step’s integrity.
- Material of Steps: Fiberglass, concrete, and other materials have different repair processes and materials.
- Extent of Damage: Limited to a small area or widespread across the steps; localized repairs contrast with full step refurbishment.
Repairing Minor Cracks and Chips
For small cracks and chips oftentimes small underwater repair kits that cost anywhere from $100-$250 will do the trick. Simply follow the instructions on the repair kit, no draining needed and it should fix the crack.
Keep in mind these are for VERY small cracks (like tiny). If you’re dealing with a hand size crack or bigger, keep reading since you’ll need to do a lot more to fix those cracks.
Of course, we always recommend consulting with your local pool repair company if you’re unsure about how to fix your pool issues.
Gathering Necessary Materials and Tools
Materials for Repair
If you really want to go the DIY route and try to do it on your own here are some things you’re going to need (for big fixes)
- For Fiberglass Pools:
- Fiberglass resin
- Hardeners
- Fiberglass cloth
- For Vinyl Pools (can use fiberglass as well):
- Vinyl liner patch kit
- For Concrete Pools (optional, can use fiberglass):
- Hydraulic cement
- Concrete bonding agent
Required Tools
- Scraper or putty knife
- Rotary stone bit
- Sandpaper (100-grit)
- Hose (for drainage, if needed)
- Personal protective equipment (gloves, safety glasses)
Applying Filler or Patch
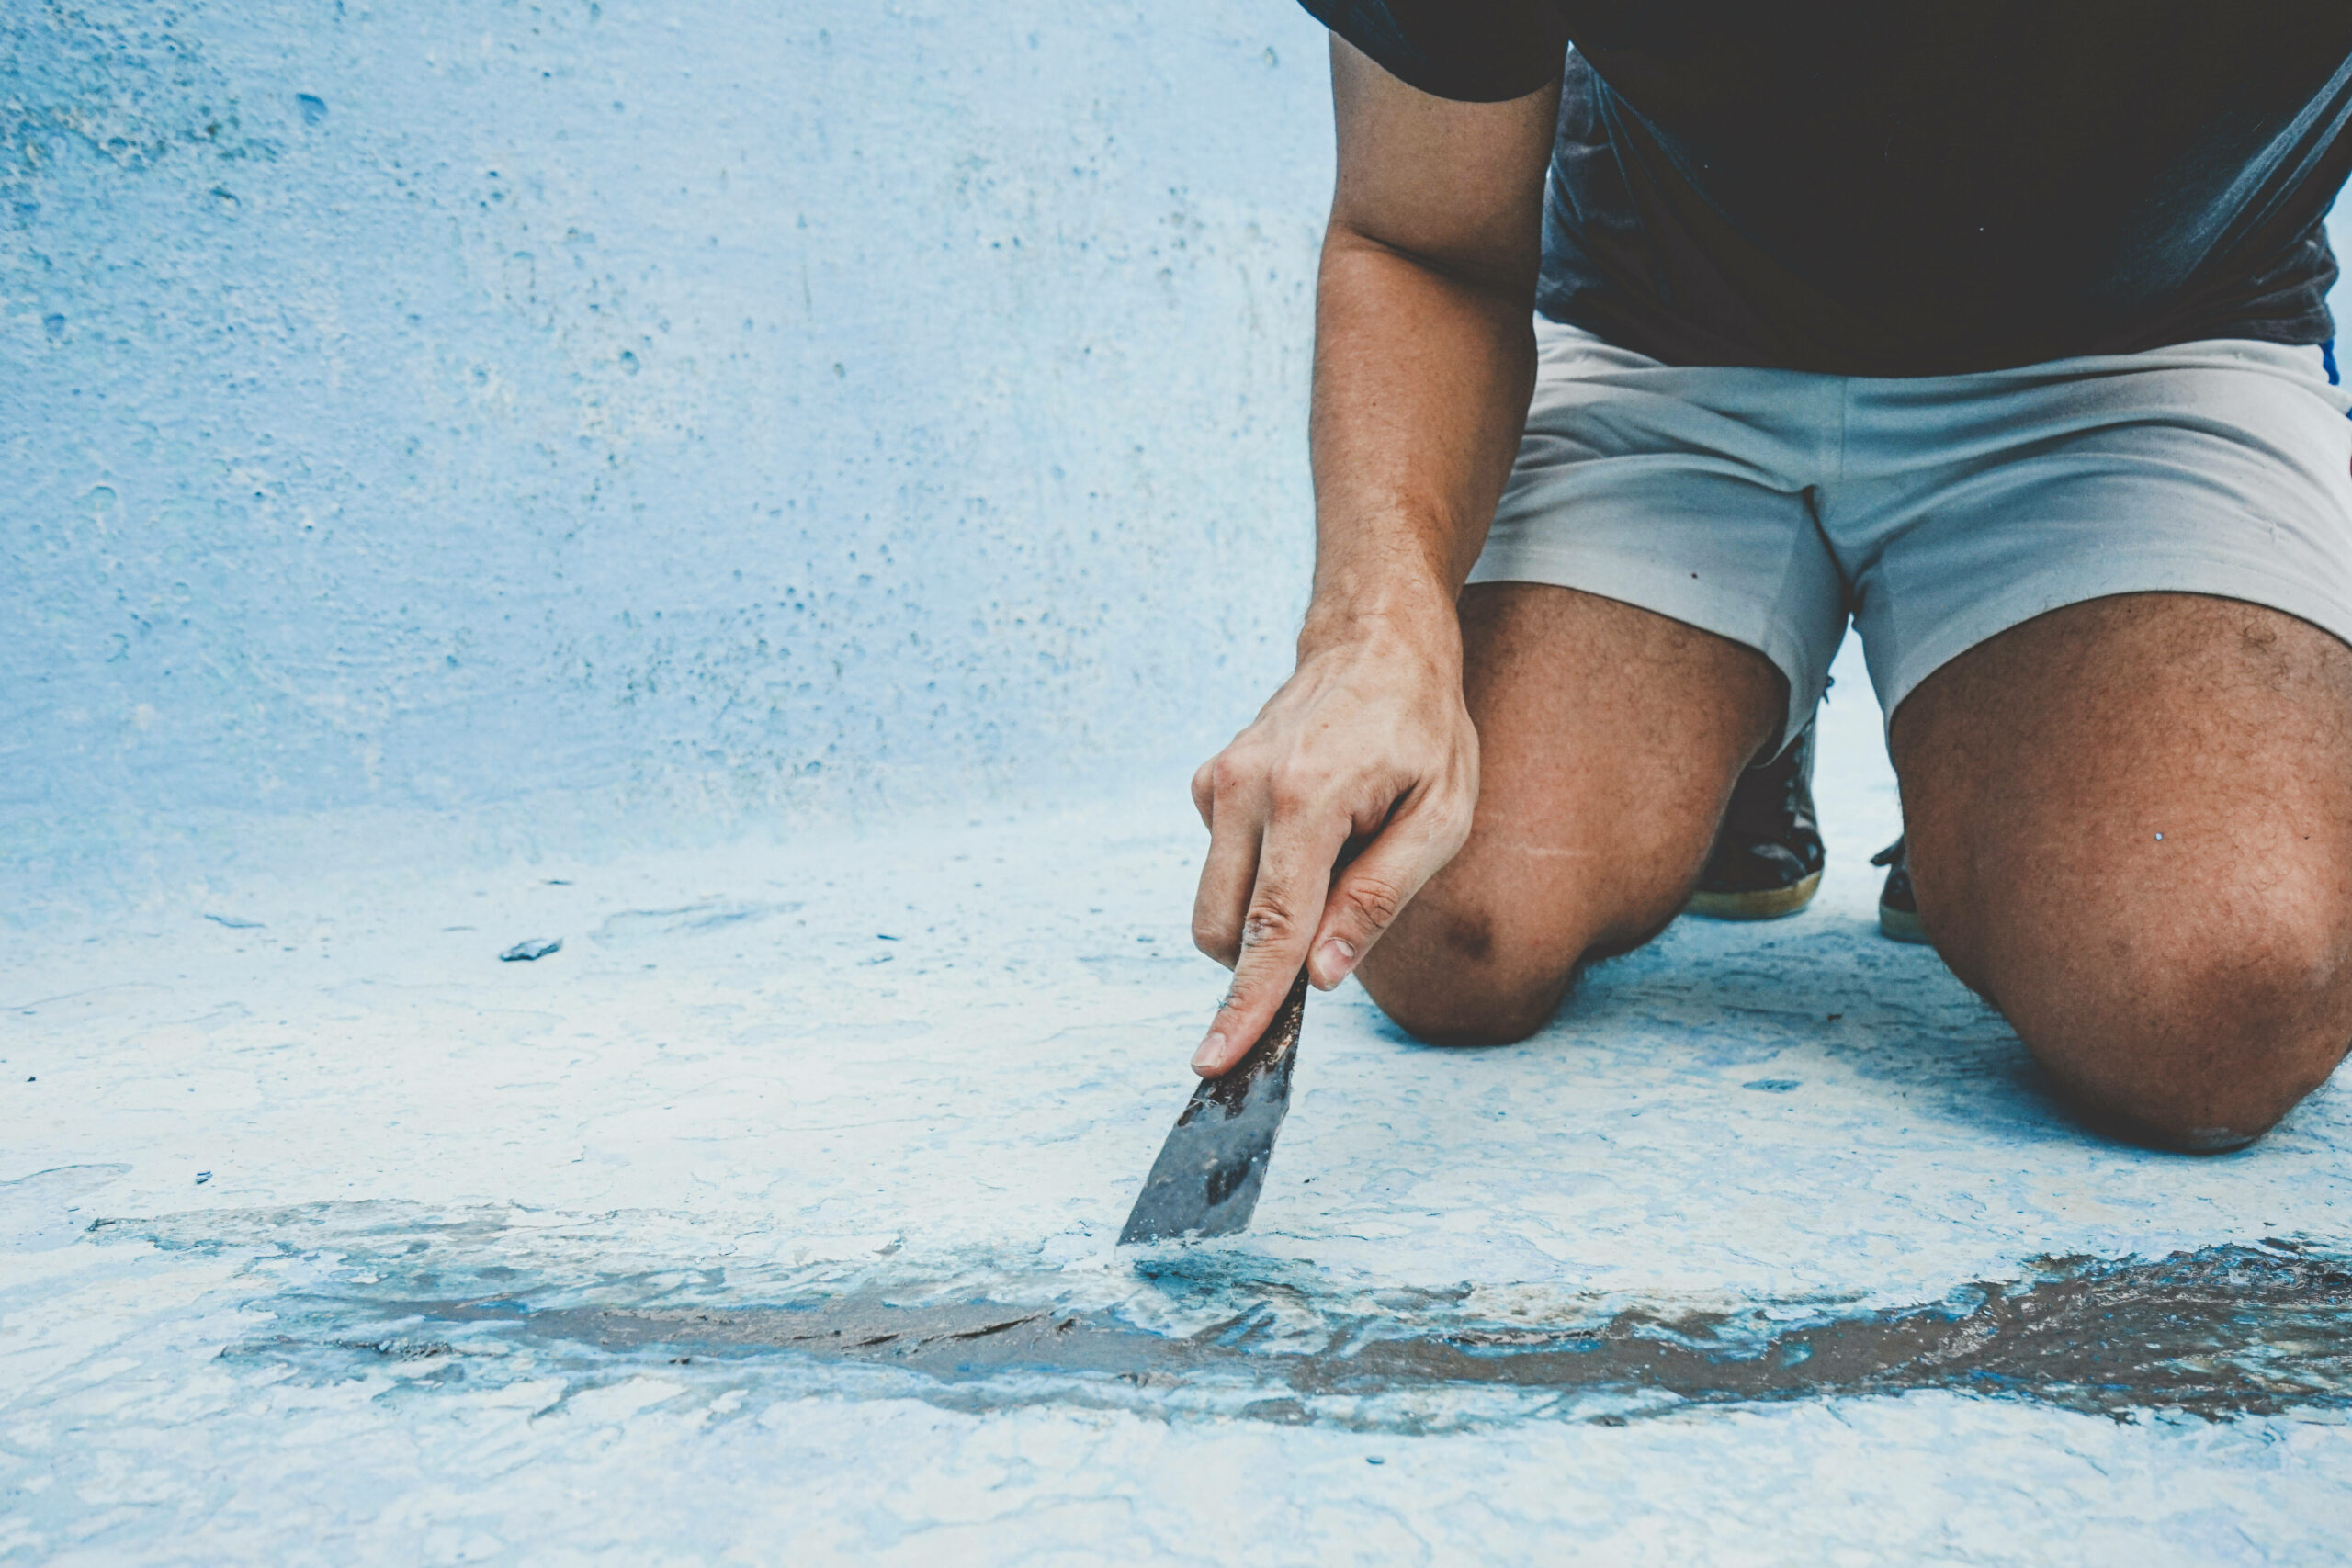
It’s best to begin by ensuring the area around the damage is clean and dry. Any loose debris must be removed with a scraper or putty knife. For the best repair, the following steps are critical:
- Grind Out the Crack: Use a rotary stone bit to carefully grind the crack from one end to the other.
- Sand the Area: Smooth the area with 100-grit sandpaper to dull the fiberglass around the crack, creating a surface that the patch can adhere to securely.
- Clean the Surface: After sanding, thoroughly clean the area to remove any dust or debris.
- Apply Primer: Generously cover the crack with a surface primer and allow it to dry completely.
- Fill the Crack: Using a putty knife, apply a bonding filler along the crack. The filler should be pressured into the crack and overlapped at the edges for a secure bond.
- Smooth the Filler: With each pass of the putty knife, smooth the filler to ensure an even application.
Fixing Large Cracks
1. Drain The Pool & Dry The Steps
Before any repair work begins, ensure the pool is drained below the level of the steps. The steps must be completely dry to effectively adhere to the repair materials.
2. Clean & Prep The Area to Repair
The area around the crack should be free of debris. Use a scraper or putty knife to clear away loose material. This step sets the stage for a strong repair.
3. Drill Out The Crack
Using a rotary stone bit, it’s crucial to carefully drill out the crack from end to end. This widens the crack slightly and creates a stronger surface for the repair material to bond.
4. Sand The Area & Clean Again
Sand the expanded crack and surrounding area with 100-grit sandpaper until it’s smooth. Cleaning the area post-sanding removes all dust and residue, prepping the surface for repair.
5. Option 1: Fiberglass Repair Kit
- Apply the resin from the fiberglass repair kit into the crack.
- Place the fiberglass cloth over the resin, then apply another layer of resin to saturate the cloth.
Option 2: Surface Primer & Bonding Filler (repair kit)
- Apply surface primer generously to the prepared crack and allow it to dry.
- Fill the crack with bonding filler, smoothing it with a putty knife from one end to the other.
Option 3: Gelcoat Repair Kit
- Fill the crack with gelcoat filler as per the kit’s instructions.
- Ensure the gelcoat is level with the surrounding area for a smooth finish.
6. After Applying – Sand & Clean The Area
After the repair material has cured, sand the area again to ensure it is flush with the rest of the step. Clean any dust or debris to inspect the repair.
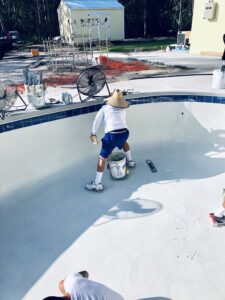
7. Recoat The Area + Repaint
Finally, apply a topcoat if required to seal the repair. If the repaired area needs to match the surrounding steps, it may be necessary to repaint the steps for a uniform appearance.
Sealing and Waterproofing
Choosing the Right Sealant
To effectively seal pool steps once again, select a sealant that is:
- Specifically designed for pools: Ensure compatibility with constant water exposure.
- Durable against chemicals: It should withstand chlorine and other pool chemicals.
- Non-slippery when cured: Safety is paramount to prevent slipping.
Application Process
- Prepare the Surface: Clean the pool steps thoroughly, removing debris and ensuring the surface is dry.
- Apply the Sealant:
- Use a paintbrush, roller, or sprayer for application.
- Cover the steps evenly, especially focusing on repaired areas.
- Avoid overlaps and streaks for a uniform finish.
Final Inspection and Testing
The final inspection process should involve a detailed visual examination of the repaired areas. Look for visible signs of unevenness, cracks, or incomplete patching that may indicate the repair has not been completed or done correctly.
- Smoothness: The surface should be smooth to the touch with no sharp edges or rough patches.
- Color Consistency: The repaired area should blend seamlessly with the surrounding material in terms of color and finish.
- Firmness: Press gently on the repair to ensure that it is firm and not spongy or flexible, indicating that the material has cured appropriately.
- Gentle Pressure: Initially apply light pressure and gradually increase to ensure the step can support the weight without cracking or flexing.
- Weight Test: If possible, use a calibrated weight equivalent to the maximum expected load to verify that the step can hold without failure.
Frequently Asked Questions
What is the best method to repair cracked pool steps in an inground pool?
For inground pool steps with cracks, the recommended repair method involves using a fiberglass repair kit. The area should be dry, cleaned, and sanded down before applying a fiberglass mix which is then leveled and allowed to cure as per the product instructions.
Can Flex Seal be effectively used to fix pool steps, and how should it be applied?
Flex Seal can be used for minor repairs on pool steps. Users should clean the area thoroughly before spraying the sealant. It should be applied in a uniform layer and given ample time to dry completely.
How to replace broken steps in an inground pool?
Replacing broken inground pool steps requires removing the damaged step, cleaning the section, and ensuring a proper fit for the new step. Secure the replacement with appropriate hardware and sealant, following the manufacturer’s guidelines for a watertight finish.
What are the necessary steps to repair pool steps using a fiberglass repair kit?
To repair pool steps using a fiberglass kit, you must:
- Clean and sand the damaged area
- Apply a coat of resin
- Place the fiberglass cloth
- Apply another resin layer
Adequate curing time is crucial for durability.
What type of epoxy is recommended for pool step repairs, and how is it used?
A waterproof, marine-grade epoxy is ideal for pool step repairs. To use it:
- Make sure the surface is clean and dry
- Mix the epoxy and apply it to the affected area
- Follow up with proper smoothing
- Allow it to cure as per the epoxy’s instructions
How do you fix plaster on pool steps that have been damaged?
Repairing damaged plaster on pool steps involves removing loose plaster, cleaning the area, applying a bonding agent, and then applying the new plaster mix. Make sure to maintain even layers and allow ample curing time before exposing to water.
