Your deck is one of the first things a person sees when they come to visit. It should be the shining crown wrapping around your home to give you the perfect place to relax in the sun.
Deck refinishing isn’t something you need to do every year. But sooner or later it becomes necessary to breathe new life into your once beautiful deck.
It can be a difficult task if you’ve never done it before. With these tips, the entire process will be a whole lot easier to complete. And your deck will look as good as new in the end.
1. Inspect For Damage
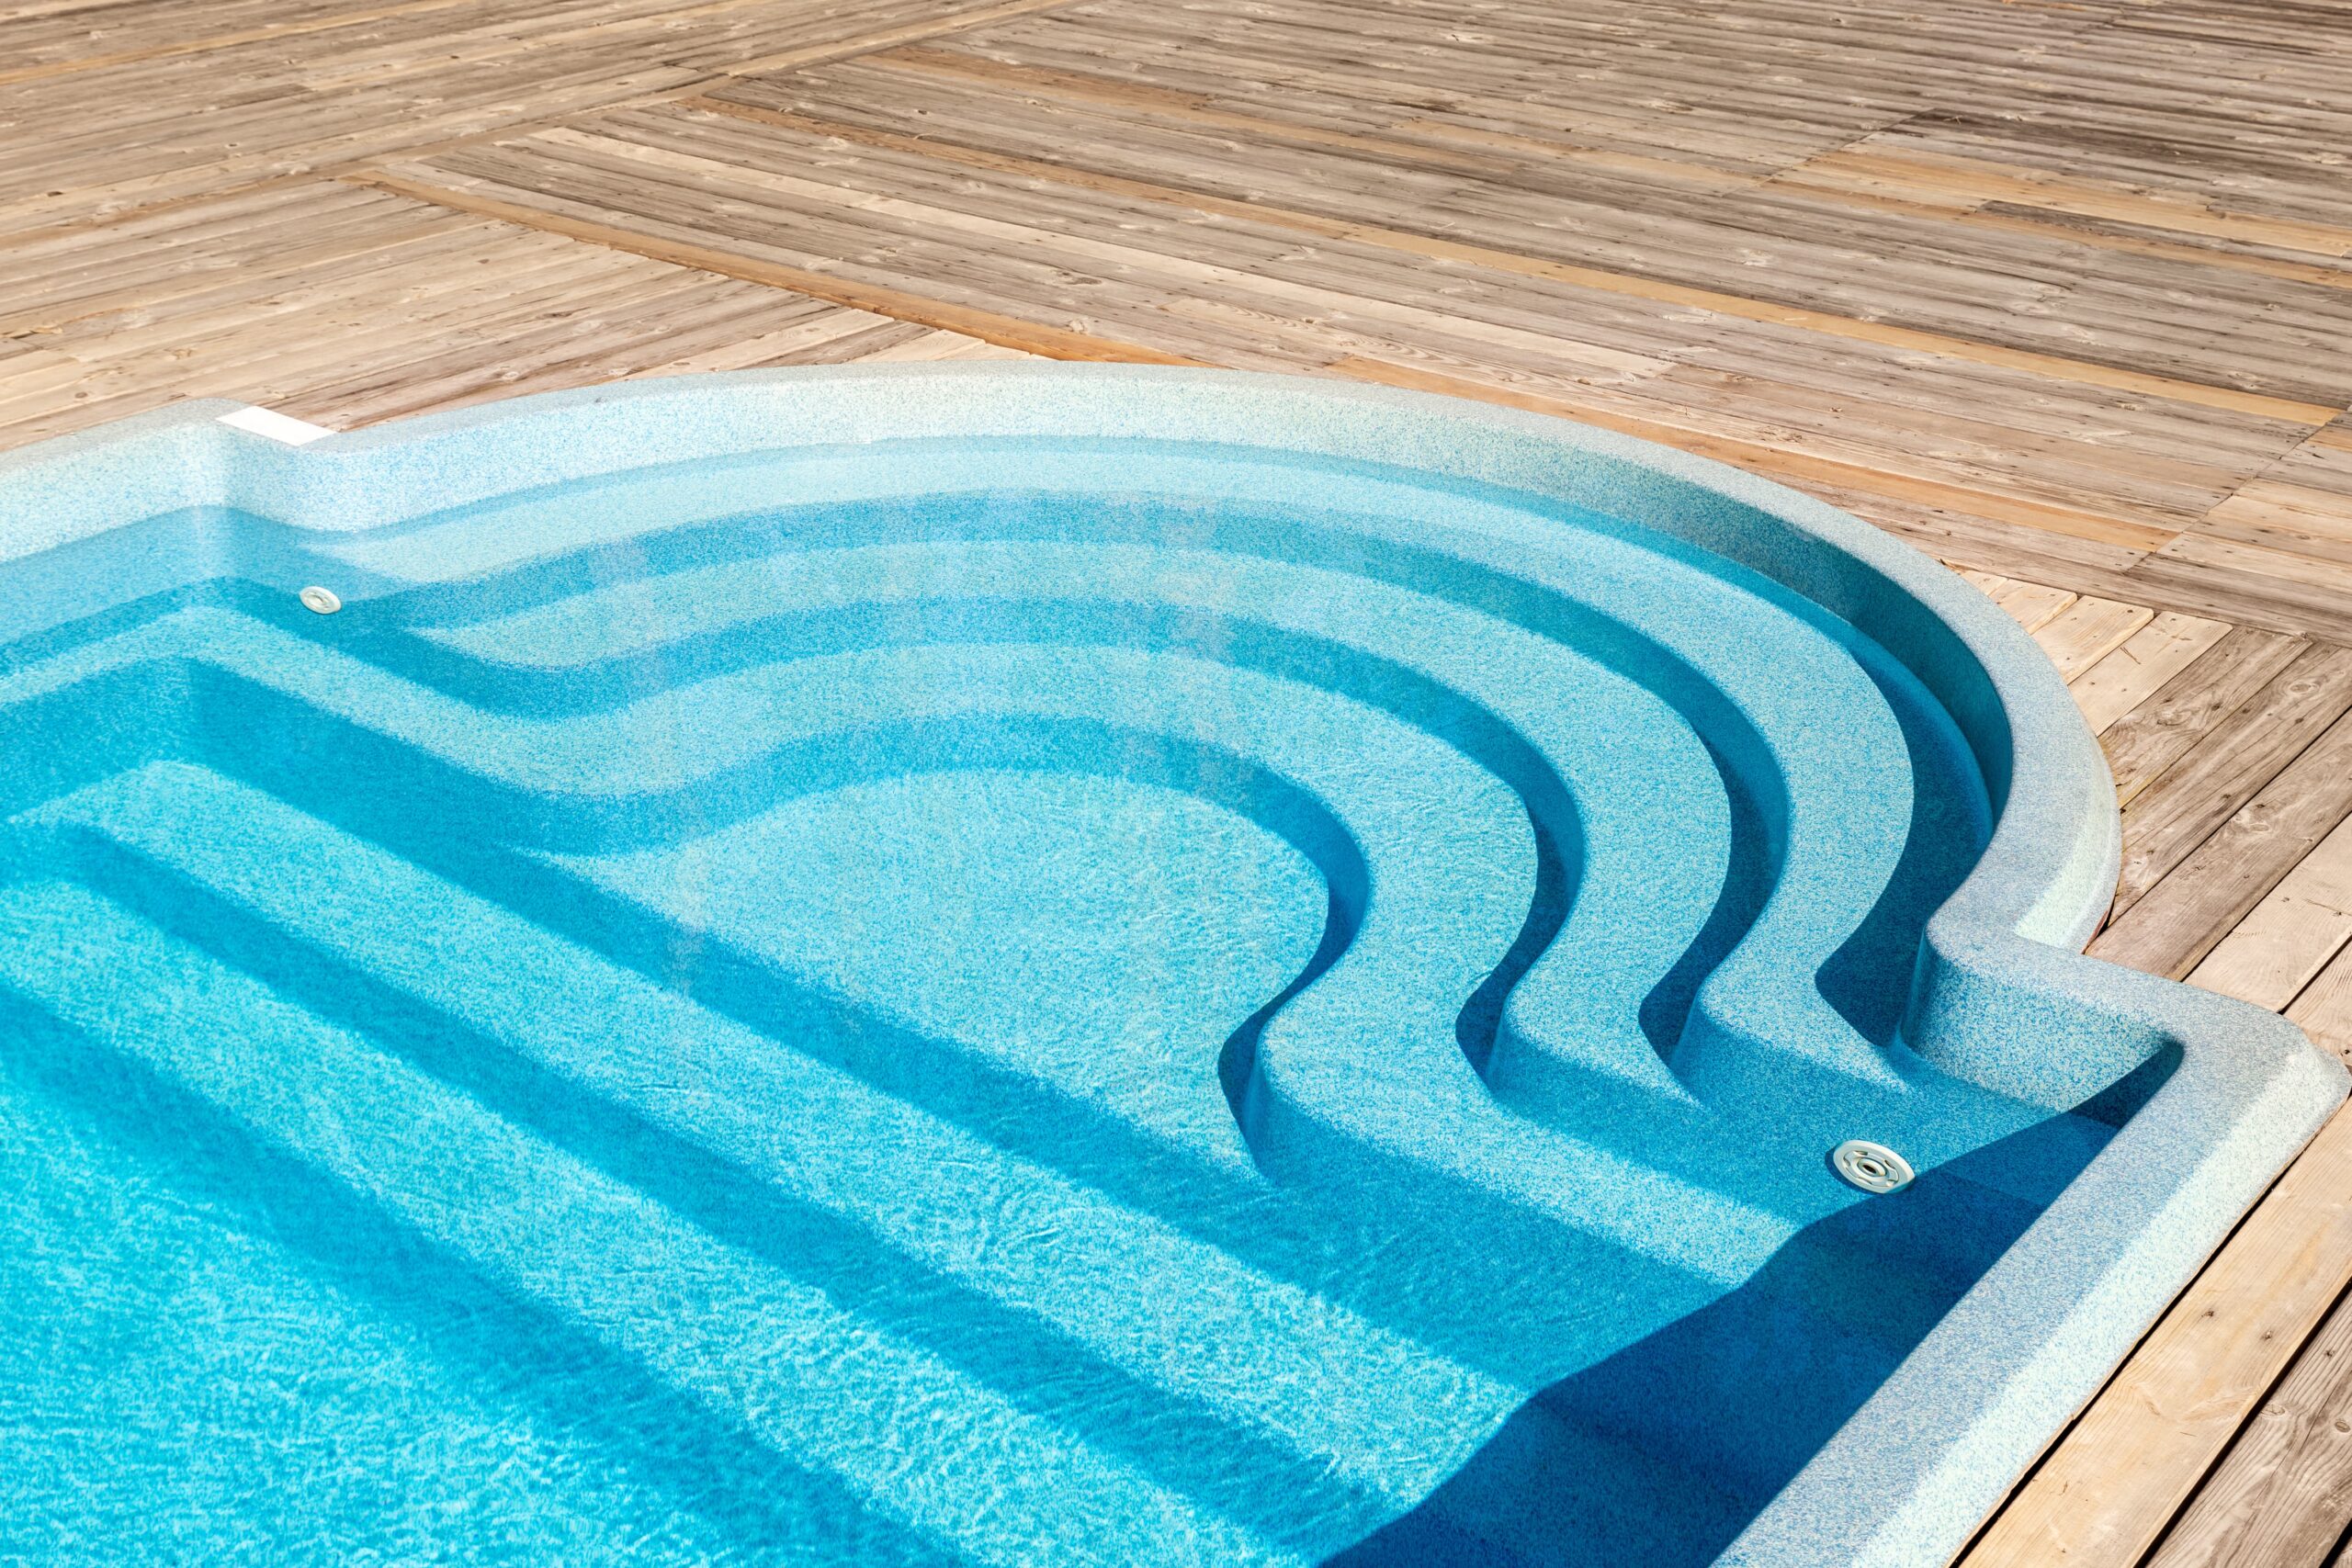
Before beginning, the first step is to give a thorough inspection of the entire deck. You’re looking for parts that look different than the rest, like damage caused by a leaky pool. You’re also looking to see if pests have caused any problems.
If a section of the wood is looking damaged or rotten, poke it with a screwdriver or something similar.
You can tell that the wood is bad if the screwdriver sinks into the wood with ease. The fibers of the wood will fall apart from each other with little pressure.
If this happens, you’ll need to replace the wood before continuing. Refinishing a deck made of ruined wood will lead to a ruined deck soon enough.
2. Remove Previous Paints and Treatments
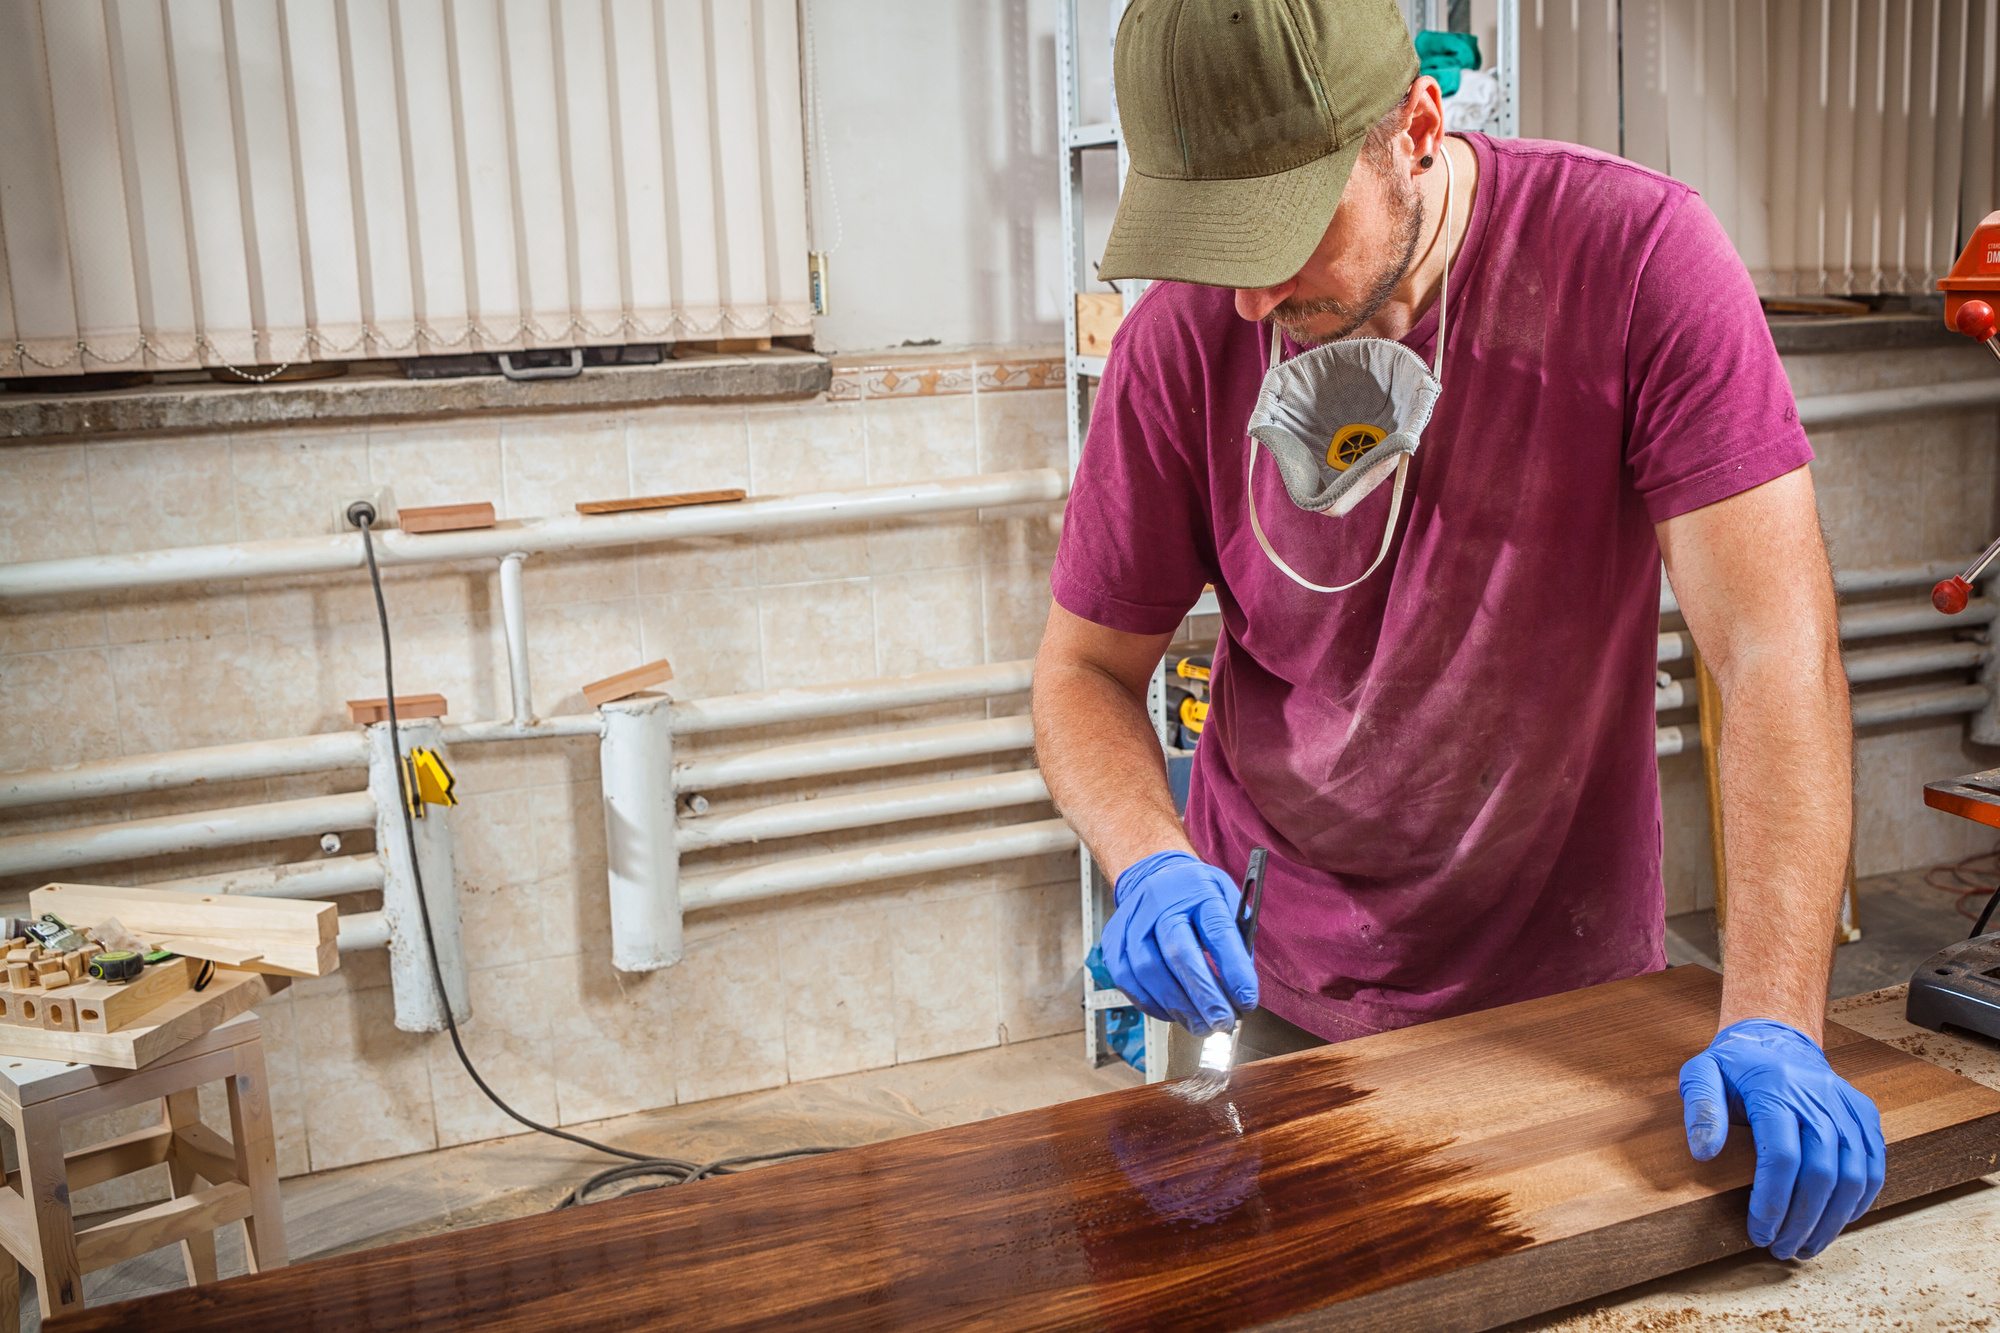
Before you can move on to bringing your deck back to life, you’ll need to scrape away any old finishings or paints.
To check if you’re dealing with a sealed deck, drop a little bit of water onto the wood. If it beads up, it’s sealed and needs scraping for an even cleaning. But if it seeps into the wood, then you can move on to using a cleaner chemical to get rid of any old paints and the like.
3. Clean All the Nooks and Crannies
Next, it’s time to give the deck a good and thorough cleaning. Sometimes it can be enough to use a cleaner and good old scrubbing power.
If you want the best results, a powerwasher cleans better than anything else. This special tool is able to rid your deck of dirt and grime that have accumulated over the years.
4. Give Ample Drying Time
Before continuing, you’ll need to let the deck dry. You can’t apply any stain or other treatments to sodden wood. It would only seal in the moisture, causing damage to the wood.
Try to keep people from walking over it as much as possible. You want to keep the surface as clean as you can so that it will remain pristine during the next steps of refinishing a deck.
5. Sand Away the Splinters
As you’ve washed the deck, the wood expands from the moisture. As it dries, small splinters form and poke out from the surface as it begins to shrink once more.
A small visual check will show you if this is a problem with your own deck or not. If you can’t detect any small fibers of wood sticking up, you can skip this part.
To save your feet and hands from any unwanted visitors, sand down your deck. This will smooth out the problem and keep your deck looking great.
6. Fix Popped Nails
With a cleaned surface, you can now detect any nails that might have worked their way up throughout the years. This is an easy problem to fix. You don’t want to have your clothes or skin catching on the heads of the nails, after all.
When pushing those nails back into place with a hammer alone, sometimes you can create indents or other damage to the wooden surface.
To keep this from happening, get yourself a metal ruler and place it over the nail. Strike the ruler with the hammer instead of the nail. This will be enough to push the nail where it belongs while keeping your deck dent-free.
7. Use a Paint Sprayer
Instead of using a brush, use a paint sprayer instead. It will make it a lot easier to get an even coat over the wood. It also speeds up the process a thousand-fold.
A good thing to do before pouring any stain into the paint sprayer is to give your stain a good stir. Strain it to get any bothersome clumps out. This will keep those clumps of stain from clogging up your paint sprayer halfway through.
8. Be Mindful of Dripping
Even with a paint sprayer, you’ll need to keep your other belongings protected from the stain. Dripping is one of the bigger problems you’ll need to keep an eye on.
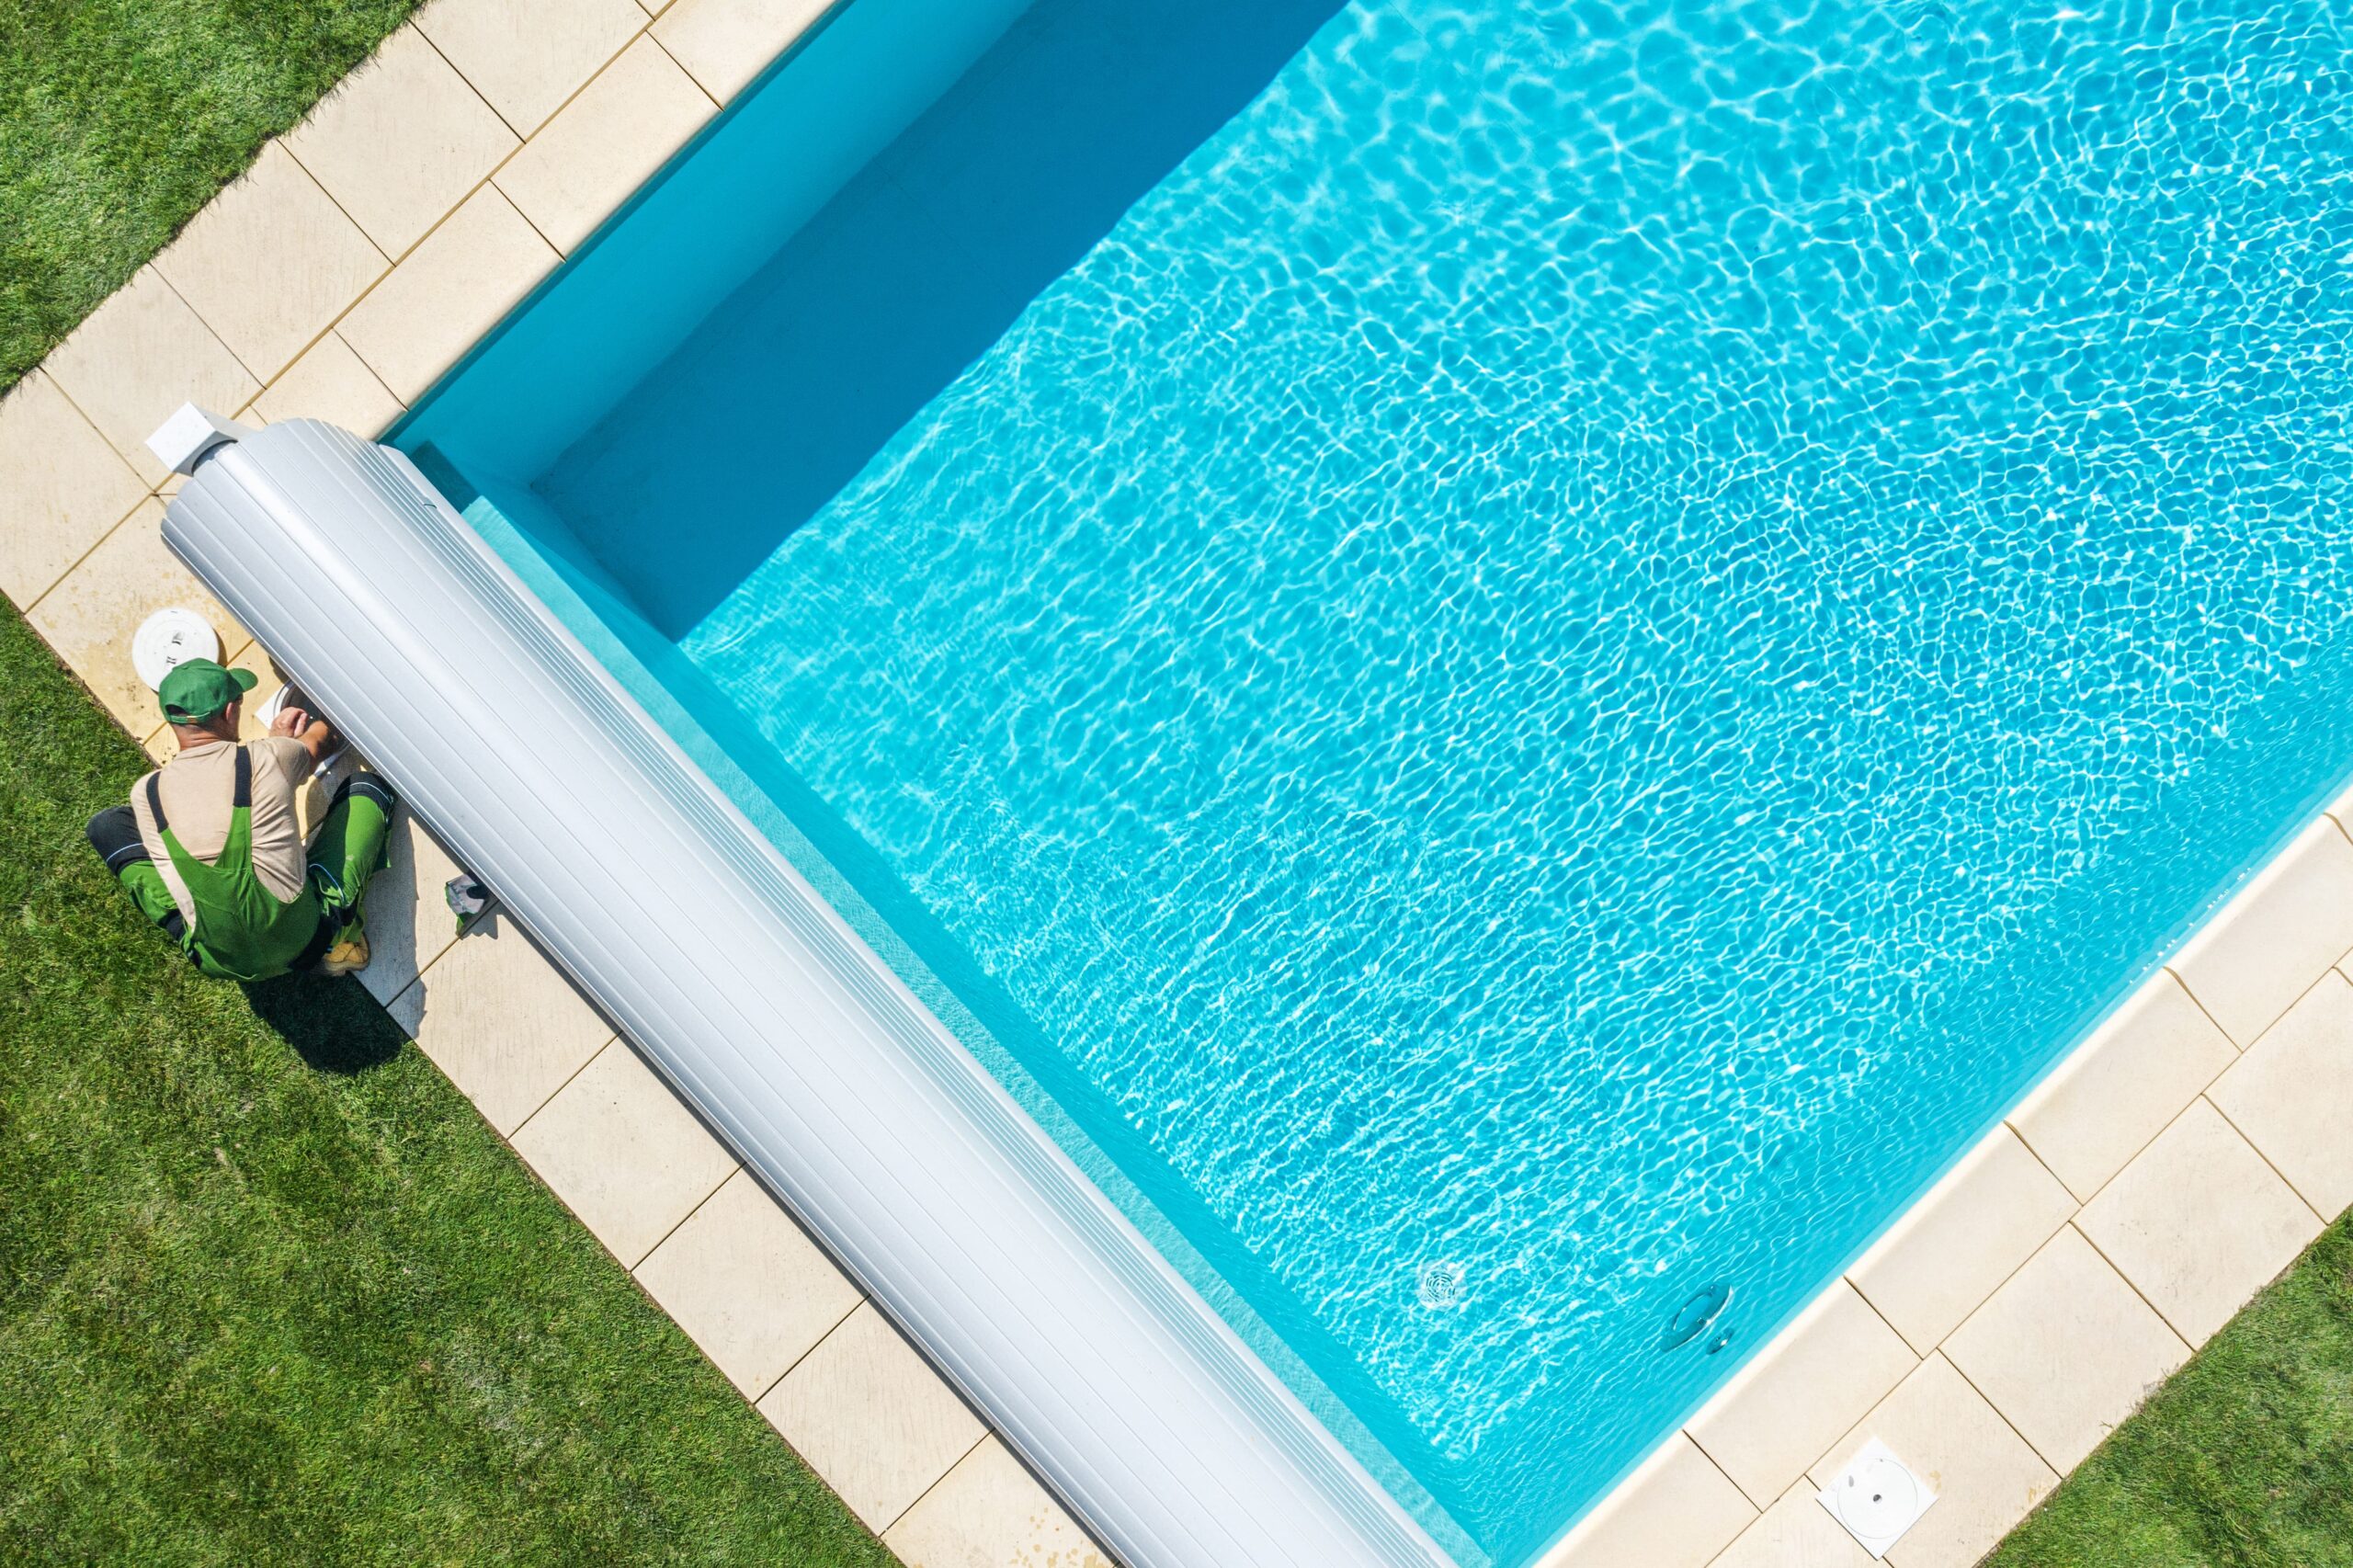
Cover up your pool, your home, your garden plants, and anything else that could be in the way of the stain. With a paint sprayer, you’ll also need to be mindful of the direction in which you are spraying. You don’t want the wind to take that excess stain and stick it to the side of your concrete or fiberglass pool.
9. Test in Small Places First
Before committing to restaining a deck, you should do some tests. The best way is to have an extra piece of wood you can practice on so that you can get the feel for the sprayer and how it works.
If you don’t have that available, then the next best thing is to pick out an inconspicuous spot on your deck. A place that is hard to see or is hidden away from plain sight.
From there, test the sprayer and see how it reacts with your wood type. This will give you the chance to work out any nerves and ensure you have a nice and even coat for the main deck.
These Deck Refinishing Tips Will Make the Task a Breeze
When it comes time to spruce up your wooden deck, remember these tips. They’ll make the whole deck refinishing process go without any troubles. You’ll no longer ask yourself how to refinish a deck.
These tips will aid you in achieving a deck that looks brand new. So get in there and plan out your refinishing project.
Your deck will thank you.
If you still have questions, we’re here to help!

